


How to Build a Custom Marketing Cloud Preference Center with AMPscript and SSJS
Let’s be real—Salesforce Marketing Cloud’s default preference center is… fine. It checks the box. But it’s not exactly a delight for your subscribers, and it definitely doesn’t match your brand or give you much control.
If you’re looking to give your audience a better experience—and collect cleaner data in the process—building your own custom preference center is the way to go. You’ll get total flexibility, a slick user interface, and a much better shot at keeping people on your list.
Here’s how to do it using Cloud Pages, AMPscript, and Server-Side JavaScript (SSJS).
Why Build Your Own Preference Center?
Good question. The default unsubscribe page is all-or-nothing—unsubscribe from everything or nothing at all. That’s a missed opportunity.
A custom preference center lets you:
- Look legit: It can match your website’s design, tone, and branding.
- Offer real choices: Let subscribers pick the types of emails they want.
- Reduce opt-outs: If someone doesn’t want your promo emails, maybe they do still want your newsletter.
- Stay compliant: Make it easier to honor GDPR, CAN-SPAM, and other privacy laws.
Bottom line: it’s a win for your brand and your subscribers.
What You’re Building
You’re going to create two pages inside Marketing Cloud:
- A Display Page that shows the email preferences available.
- A Processing Page that takes what the user selected and saves it.
You’ll also use:
- A Data Extension (
pref_center_options) to store the types of emails you send. - Another one (
pref_center_selections_updated) to store each person’s choices. - A bit of AMPscript and SSJS to tie it all together.
Step 1: Create Your Data Extensions
Let’s start by setting up the backend.
pref_center_options
This DE holds all the options people can choose from—like “Product Updates,” “Webinar Invites,” “Newsletters,” etc.
| Field | Type | Description |
|---|---|---|
| OptionID | Text | Just a unique ID for the option |
| OptionLabel | Text | What people will actually see |
| IsActive | Boolean | If true, it’ll show on the form |
pref_center_selections_updated
This is where we store each subscriber’s preferences after they submit the form.
| Field | Type | Description |
|---|---|---|
| SubscriberKey | Email/Text | The person’s unique ID |
| OptionID | Text | Which option they picked |
| IsSelected | Boolean | Whether it was checked |
| UpdateDate | Date | Timestamp for tracking |
Step 2: Display Page (Where Users Choose Preferences)
Here’s where we build the actual form that your subscribers will see. It pulls in all active options from your DE and creates a checkbox list.
ampscriptCopyEdit%%[
SET @subkey = RequestParameter("subscriber")
SET @rows = LookupRows("pref_center_options", "IsActive", "true")
]%%

<form action="https://cloud.email.yourbrand.com/processing" method="POST">
    <input type="hidden" name="subscriber" value="%%=v(@subkey)=%%" />

    %%[FOR @i = 1 TO RowCount(@rows) DO
      SET @row = Row(@rows, @i)
      SET @id = Field(@row, "OptionID")
      SET @label = Field(@row, "OptionLabel")
    ]%%
      <label>
        <input type="checkbox" name="opt_%%=v(@id)=%%" value="true" checked />
        %%=v(@label)=%%
      </label><br/>
    %%[NEXT @i]%%

    <button type="submit">Save Preferences</button>
</form>
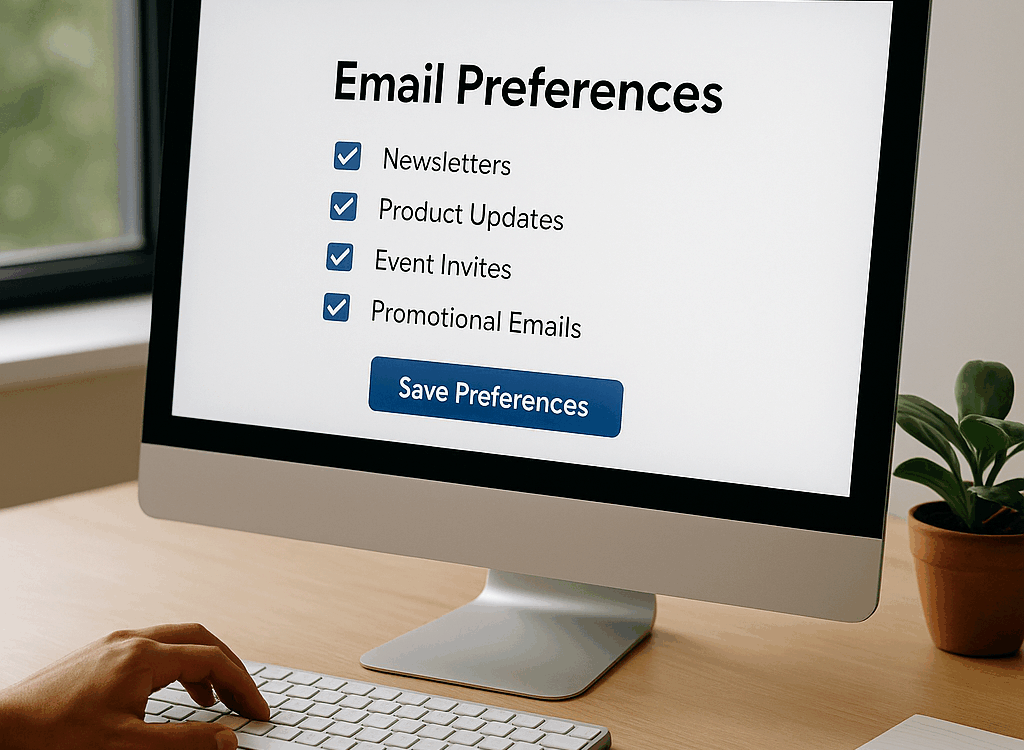
This is the form where subscribers pick what they want to receive. You can style it with CSS so it blends seamlessly into your brand.
Step 3: Processing Page (Where You Save Preferences)
Now let’s handle the form submission. When someone hits “Save Preferences,” this page will take their choices and save them to your DE.
ssjsCopyEdit<script runat="server">
Platform.Load("Core", "1.1.1");
var subkey = Request.GetFormField("subscriber");

// Get all submitted fields
var allKeys = Request.GetFormFieldNames();

for (var i = 0; i < allKeys.length; i++) {
    var key = allKeys[i];
    if (key.indexOf("opt_") === 0) {
        var optionID = key.replace("opt_", "");
        var selected = true;

        var data = {
            SubscriberKey: subkey,
            OptionID: optionID,
            IsSelected: selected,
            UpdateDate: new Date()
        };

        // Upsert logic (you could also delete & insert)
        var status = DataExtension.Init("pref_center_selections_updated").Rows.Update(
            { SubscriberKey: subkey, OptionID: optionID },
            data
        );
    }
}

// Optional: Redirect to confirmation page
Response.Redirect("https://cloud.email.yourbrand.com/thanks");
</script>
This SSJS script does the heavy lifting—it parses each form field, figures out what was selected, and updates your DE accordingly. Then it redirects the subscriber to a nice “thanks for updating” page.
Step 4: Test and Launch
You’re almost there! Just a few final checks:
- Try it in multiple browsers and devices to make sure it works everywhere
- Test what happens if someone visits without a
SubscriberKey(add a fallback!) - Make sure your checkboxes and labels look clean on mobile
- Add some friendly copy so users know what they’re opting into
And of course, apply your brand styling so it doesn’t look like it came out of 2007.
Final Thoughts
A custom preference center doesn’t just look better—it helps you keep more subscribers engaged and gives them a sense of control. Plus, it’s one more way to show your audience that you respect their choices and their inbox.
Once it’s set up, you can add new options anytime, track selections for better targeting, and create segments based on what people actually want to hear about.
Need help setting this up or making it work with Data Cloud or other systems?
Related articles

What’s the Deal with Marketing Cloud Next? (And Should You Care?)

Making the Move to Marketing Cloud Next: Strategy, Benefits, and Expert Help

How to Measure the Impact of Marketing Cloud Campaigns with Salesforce Data Cloud

Salesforce Data Cloud Segments for marketing cloud activation